
How Efficient Is Your 3D Print Farm?


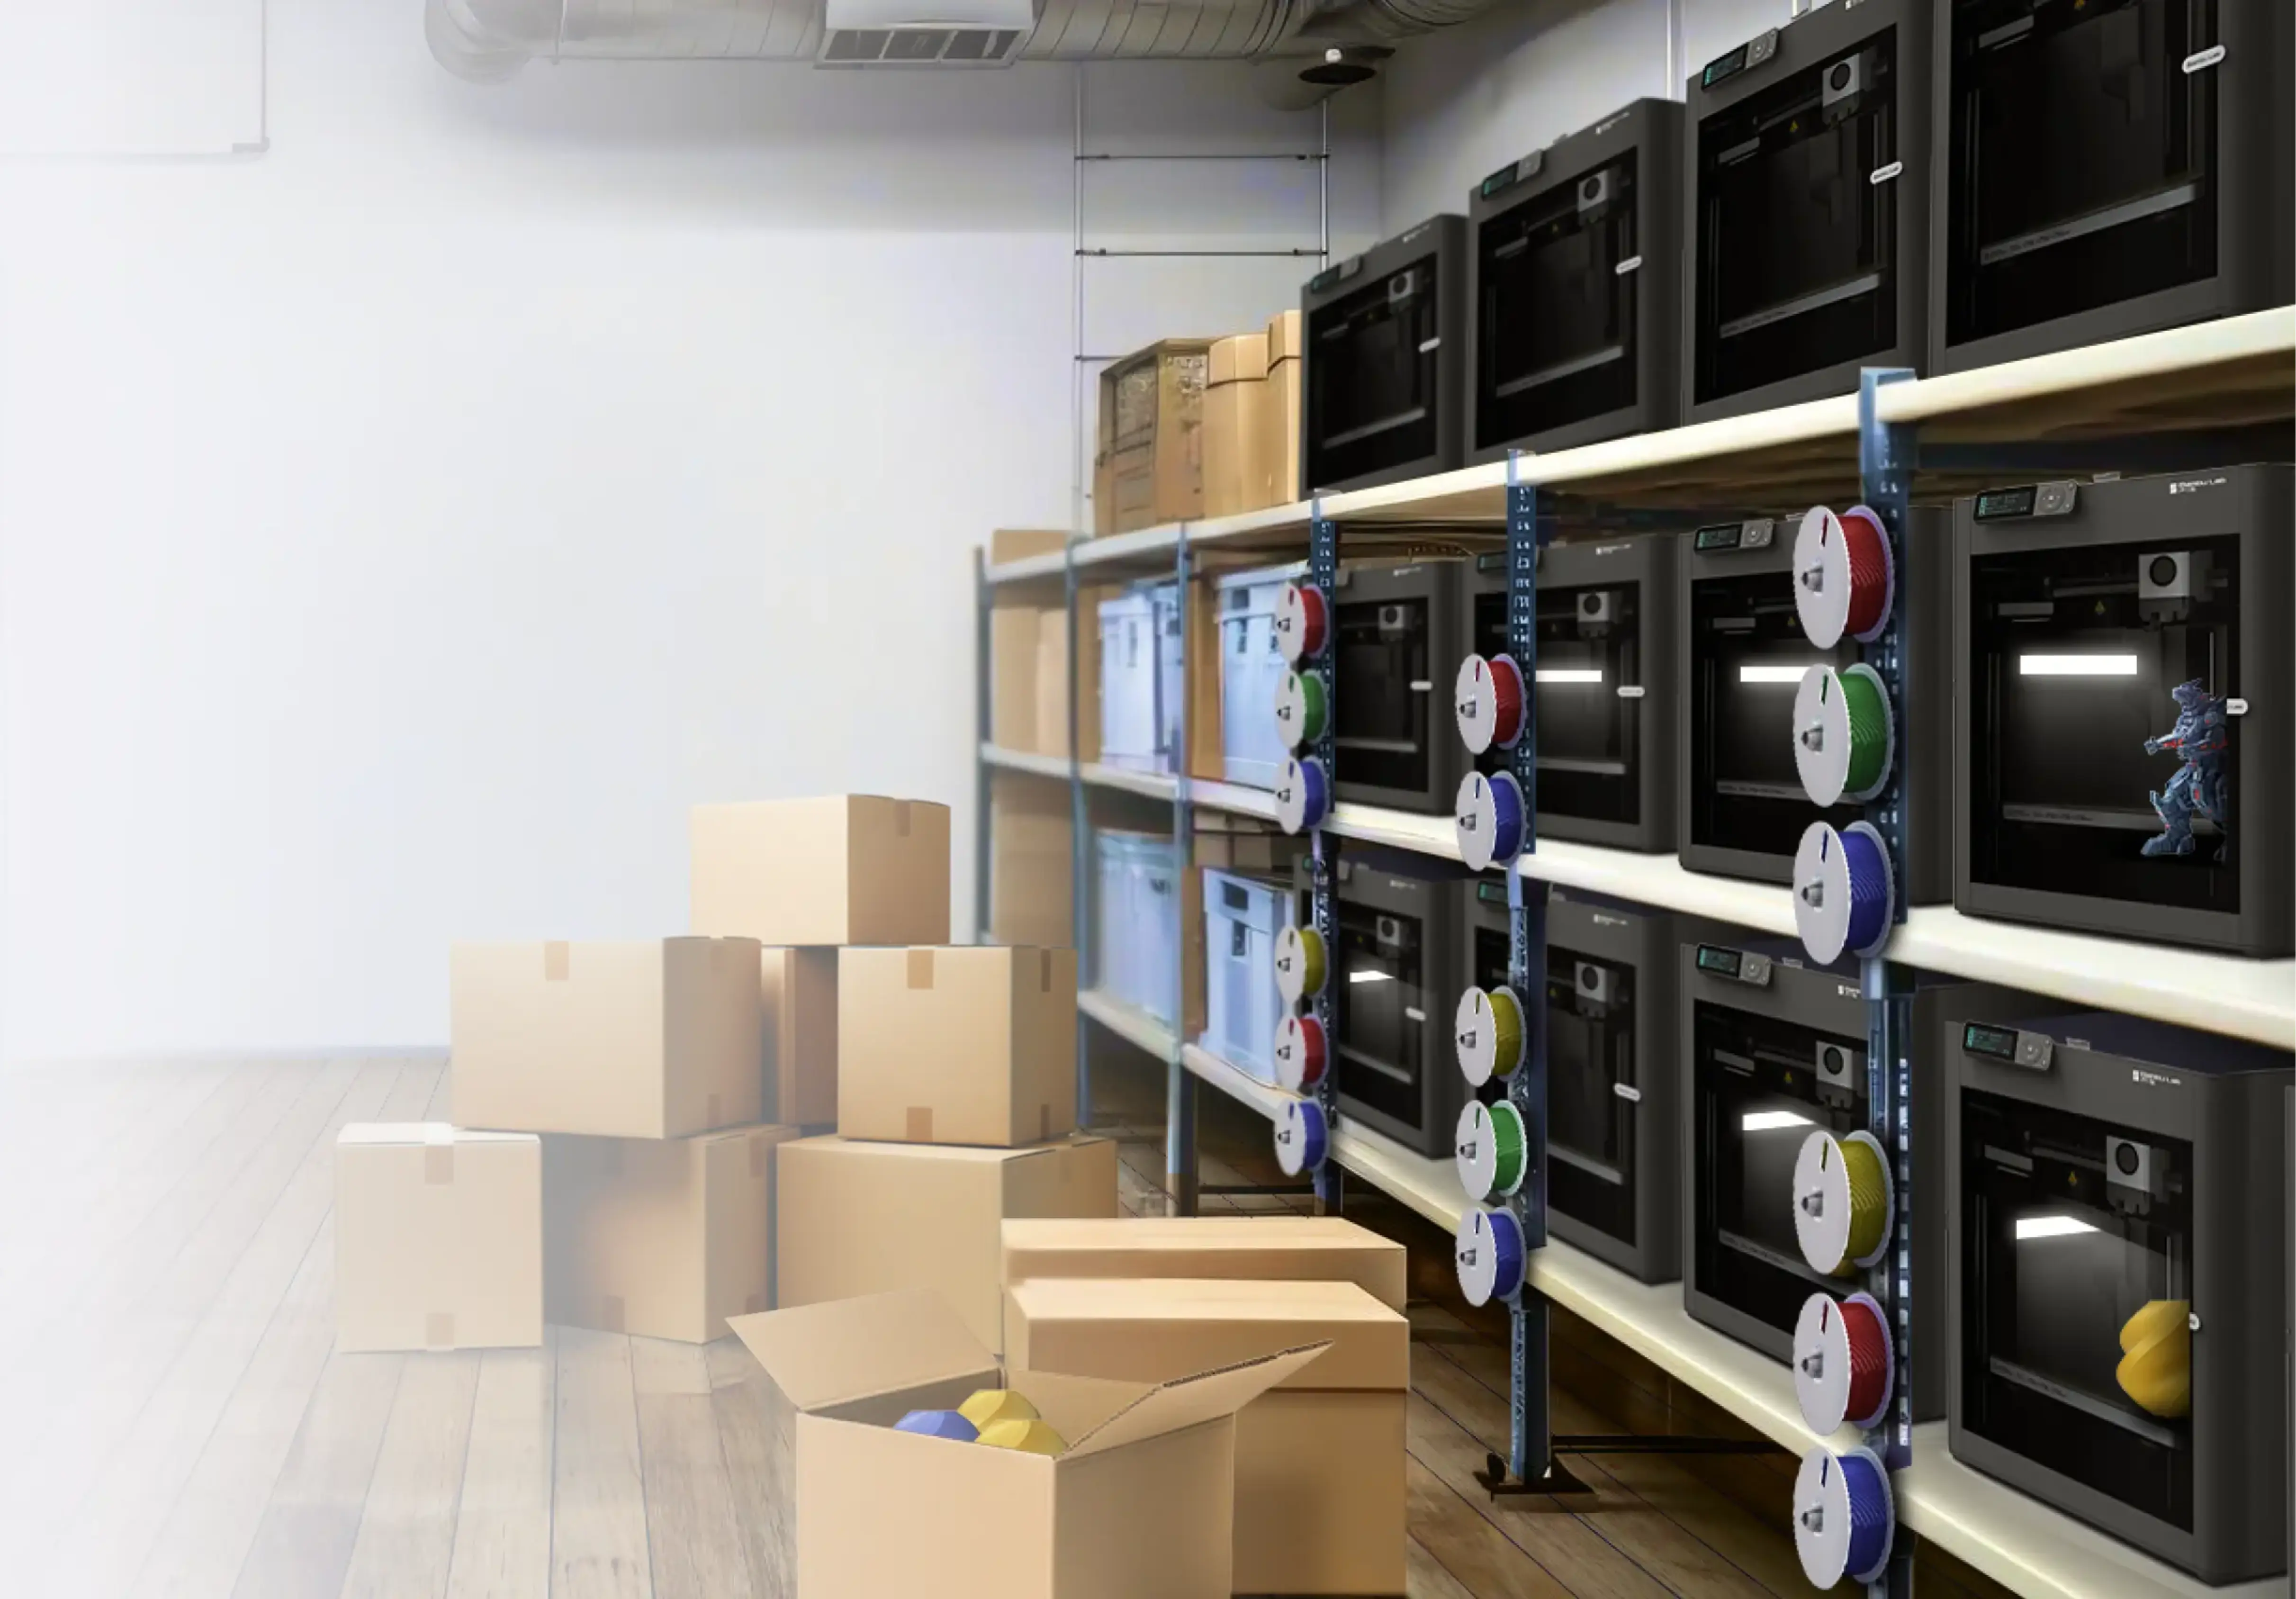
Running a 3D print farm isn’t an easy task. It takes a lot of trial and error, all-nighters, and running back and forth between printers, but eventually most farms will get into a rhythm that works for them and maximizes their output. If you run a print farm, you can probably relate to this. But are you really as productive as you think you are?
In this blog, I’ll go over how you can calculate your true farm utilization using data you already have!
While this is only a rough calculation, it eliminates the need for the extensive data collection that is required to get a high-level view of overall productivity, and it is accurate enough to give you a sense of how your farm is performing. I’ll also explain how you can improve your farm utilization if it wasn’t as good as you’d expected. Before we begin the calculations, I’m going to briefly explain why I’ve chosen the metrics that I have to calculate farm productivity.
Part of the beauty of 3D printing is its ability to make a diverse range of parts one after another, though this makes calculating productivity a little trickier as each part takes a different amount of time to print and uses a different amount of material. In order to get around this variability, we’ll be calculating productivity by using the amount (grams) of filament used per hour.
Now that you understand why we’re using the calculations that we are, let’s get into the actual math. If you don’t want to do these calculations manually, you can use our handy print farm uptime calculator which will do them for you, and skip to the next section of the blog, and if you’re interested in the calculations themselves, read on!
How To Calculate Print Farm Uptime
To start off you’ll need 3 numbers:
- How much filament do you generally go through per hour?*
- How much filament (kg) do you run through in a month? Multiply this by 1,000 to change it to grams.
- How many printers do you have? (FDM for production)
*This can be found by dividing your print weight (g) by print time (hr). We recommend doing this for the 5 parts you print the most, so that you get a range from which you can find your average throughput.
From this we can calculate with reasonable accuracy how optimized your print farm is (note: the more accurate your measurements are, the more accurate your results will be). There are 3 steps to finding your true capacity utilization (TCU): calculating available capacity, calculating actual capacity, and finding your TCU using those measurements.
Step 1: Calculate available capacity.
- Divide part weight by print time to get an average g/print-hour production rate ("Hourly Production Rate" or HPR).
- Multiply the number of printers by HPR to get farm capacity grams/hour
Formula: g/hr = HPR
Number of printers x HPR = max. g/hr
Step 2: Calculate weekly capacity utilization.
- Divide total monthly filament used by 730 hours/month to get actual grams/hour used.
Formula: Total filament used/730 = actual g/hr
Step 3: Find TCU.
- Divide actual filament usage by available capacity to get true capacity utilization.
Formula: Actual g/hr ÷ maximum g/hr = TCU
Here’s an example of these calculations:
Part A: 40 g/hr
Part B: 43 g/hr
Part C: 41 g/hr
Part D: 45 g/hr
Part E: 44 g/hr
Average = ~43 g/hr
BUT if 80% of my parts are Part A then 40 g/hr should be the number I use.
Therefore the numbers I will use for my calculations are:
Average print weight: 40g
Monthly filament usage: 200,000g
Number of printers: 10
And the actual calculations will be as follows:
Step 1: Calculate available capacity
40 g/hr = HPR
10 printers x 40 HPR = 400 max. g/hr
Step 2: Calculate weekly capacity utilization.
Total filament used 200,000/730 = 274 actual g/hr
Step 3: Find TCU.
274 actual g/hr ÷ 400 max. g/hr = 68.5% TCU
How To Improve Print Farm Utilization
If you were surprised at your results after these calculations, you’re not alone! As an operator of a print farm, you’re most likely working around the clock to optimize production capacity alongside print quality, and there’s only so many things you can do at once. That’s why in order to run your farm as a truly efficient 24/7 production powerhouse, you need to be able to select the files you want to print and send them to the queue without touching the printers until you need to ship or use those parts. Reducing the “human” activities to only encompass maintenance is how you can truly reduce downtime and ramp up productivity on your farm.
That’s why we designed AutoFarm3D™ to take care of almost all your manual tasks with its automated queue with smart dispatch, continuous monitoring, order management, and central dashboard where you can view all of your printers at once. Let’s quickly go over how such a system is able to improve your farm productivity.
While every farm is different, the tasks that tend to cause printers to sit idle include part removal, starting new prints, managing orders, preparing batches, scheduling printers, and constantly running back and forth to printers to check up on how everything is printing. AutoFarm3D removes parts automatically when paired with our VAAPR™ bed which has been specially formulated for automation to have incredibly high adhesion when hot (8kg with PLA) and very low adhesion once cooled (15g with PLA). The software also works with DIY part removal solutions, however these tend to only be effective for very specific parts and materials, and we generally recommend sticking with the VAAPR bed, especially if you’re trying to minimize downtime due to failed prints. Once a print has been cleared off the bed, AutoFarm3D automatically prepares the printer for the next print, which it dispatches as soon as the auto bed levelling has been completed.
AutoFarm3D doesn’t just dispatch a print to any random printer, it uses tags to organize files and allocate parts to the printer with the right configuration for that print. For example, if you are printing 10 parts and 3 need to be black PLA, while the others need to be white ABS, AutoPrint3D will only send prints tagged with black PLA to a printer with the same tag. In doing so, it alleviates your workload and takes care of the heavy lifting when it comes to organization. AutoFarm3D also takes care of order management by allowing you to keep folders for each order and send them in bulk to the queue, letting you know when an entire order has finished printing.
Lastly, AutoFarm3D keeps an eye on your prints for you, with built-in 24/7 spaghetti detection and the ability to view every printer’s webcam on one single dashboard, where you can quickly toggle between the live printer view and the printer status view to see details for each printer, such as print progress. This way you don’t need to have a million tabs open to check on prints remotely, nor do you have to manually check on your printers.
To see a comprehensive list of features in AutoPrint3D, please see this video or request a demo.
Let’s Recap
So, today we went over what 3D print farm optimization means, how to accurately calculate it, and what to do if your farm isn’t running as efficiently as you had expected. We discussed some of the key time-consuming tasks, and how AutoFarm3D takes them off your plate or makes them significantly easier to deal with, saving you vast amounts of time. I hope that from this blog you were able to get a better sense of how efficient your farm is and how to improve it going forward. For more details on AutoPrint3D, please visit our product page or request a demo.
Happy printing!
.png)
%20(1)%20(1)-p-1080%20copy.png)


